


You can make fresh, creamy ice cream in just 20 minutes. The Cuisinart ice cream maker turns simple ingredients into delicious frozen treats without the messy rock salt or ice.
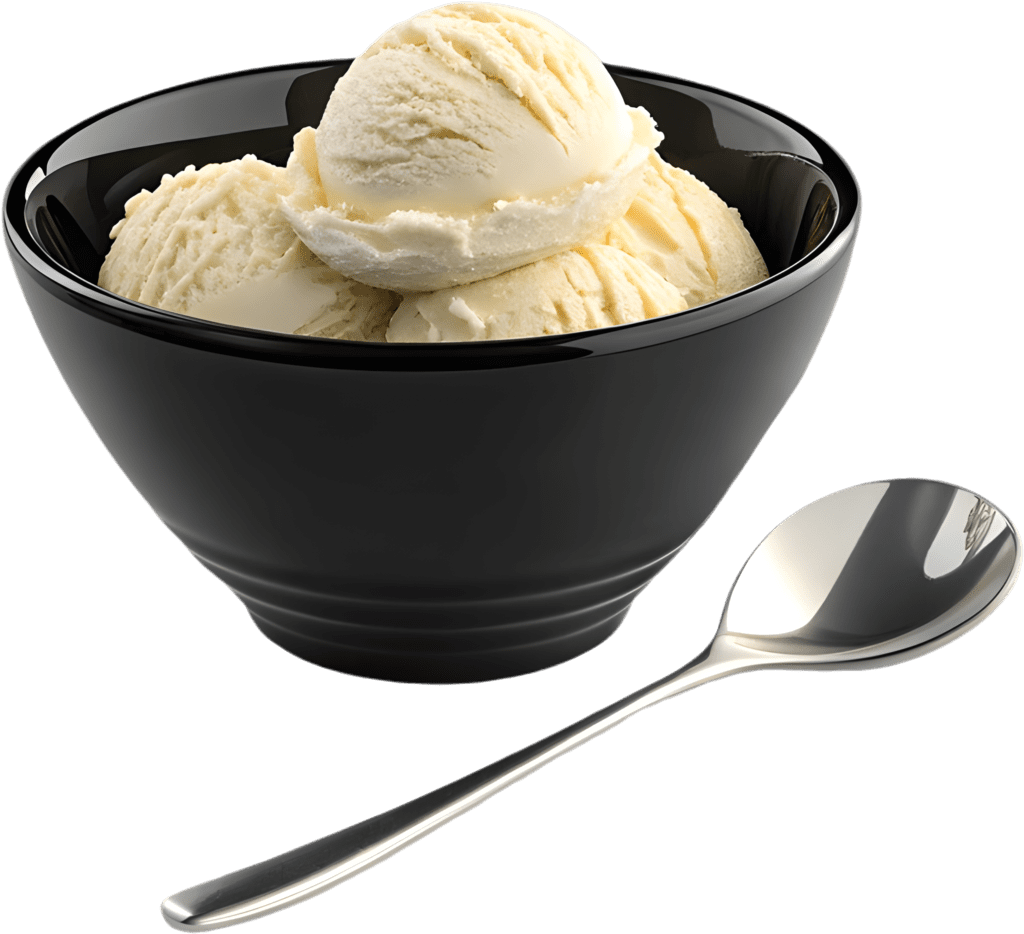
The machine’s versatility lets you create everything from rich custard-based French vanilla to lighter Philadelphia-style cream or dense, smooth gelato. A perfect vanilla ice cream needs just milk, heavy cream, sugar, and a dash of salt. The prep time? Less than three minutes.
Our extensive testing with Cuisinart’s ice cream maker has yielded amazing results. We’ve created classics like vanilla and bold flavors such as toasted marshmallow and blueberry cheesecake gelato. This piece will show you how to create perfect homemade ice cream every time.
Want to make restaurant-quality ice cream at home? Let’s head over to the essential techniques and tips that will help you become skilled at using your Cuisinart ice cream maker.
Getting Started with Your Cuisinart
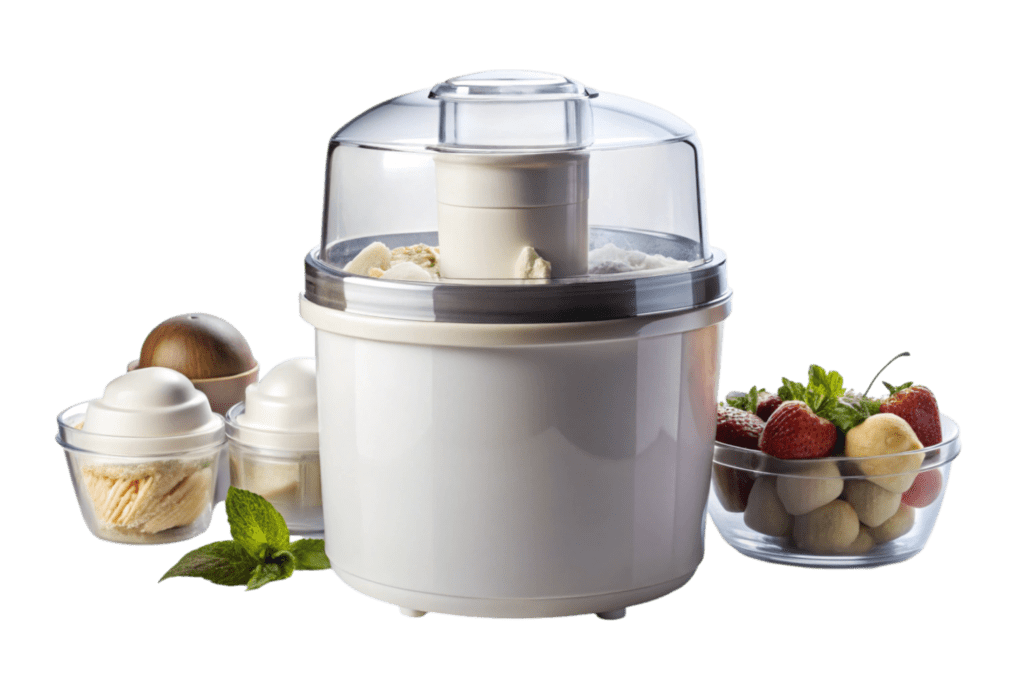
The Cuisinart ice cream maker features four main components that create perfect frozen treats together. A motor sits inside the base unit, and the freezer bowl, mixing paddle, and clear plastic lid complete the setup. On top of that, it has a mixing bowl with double-insulated walls containing special cooling liquid.
Essential parts and setup
Your Cuisinart requires minimal assembly. You’ll need to position the mixing paddle in the base unit. The base goes on the stand next – just cover it with the lid and switch on the power. Handle the aluminum mixing bowl with care and avoid metal utensils when scooping ice cream to prevent scratches.
Pre-freeze preparation steps
Successful ice cream making depends on proper freezer bowl preparation. You should wash the bowl, lid, and mixing arm in warm, soapy water to remove manufacturing residue before first use. The bowl needs to be dried well and wrapped in a plastic bag to prevent freezer burn.
The bowl should sit upright on a flat surface in your freezer’s coldest part, usually toward the back. Your freezer’s temperature determines the freezing duration, though most models need 16 to 24 hours to freeze completely. A quick shake of the bowl will tell you if it’s ready – you won’t hear liquid moving inside when the cooling solution has frozen properly.
Your freezer’s temperature is a vital part of the process. Make sure to set it to -18°C (0°F) to work properly. The freezer might need a lower temperature setting if the bowl isn’t freezing well.
I am glad you are enjoying this content… I have other articles related to this topic… Click Here
Keep the freezer bowl in the freezer permanently if you want to make ice cream spontaneously. The bowl starts thawing quick at room temperature once removed, usually within 10 minutes.
All components need to be chilled well before starting any recipe. Your ice cream base mixture should chill in the refrigerator instead of the freezer to keep freezer temperature steady. This approach prevents ice crystals and will give a smoother texture to your final product.
Note that overfilling the freezer bowl during use isn’t recommended. Most Cuisinart models can hold 1.5 quarts, so check your recipe amounts. Ice cream expands while churning as ice crystals form and air gets incorporated, so leaving enough space stops overflow problems.
Understanding Ice Cream Base Types

The secret to amazing ice cream lies in choosing the right base that matches your desired texture and flavor. Your Cuisinart ice cream maker can create three different styles of ice cream bases, each with its own unique traits and methods.

Custard-based French style
French-style ice cream starts with a cooked custard base combining egg yolks, heavy cream, whole milk, and sugar. This classic method gives you the richest and most velvety ice cream you can make. You’ll need to heat the mixture to exactly 170°F (76°C). The eggs will safely thicken your base at this temperature and create that smooth, creamy texture everyone loves.
This custard base really stands out when you make heavier flavors like maple, pumpkin, and chocolate. The egg yolks’ natural emulsifiers also help keep your ice cream soft when you pull it from the freezer.
Philadelphia style without eggs
Philadelphia-style ice cream keeps things simple by skipping the eggs and letting cream and milk’s flavors take center stage. You’ll get a clean, fresh taste that makes your main flavors pop. The process is straightforward – some recipes don’t even need heating before churning.
Light flavors like fruit, vanilla, and tea work beautifully with this eggless base. The end result is lighter and fluffier than what you’d get with a custard base.
Having fun with this context. I have other articles about this topic. Discover more!!!!!
Quick no-cook bases
Looking for the quickest way to make homemade ice cream? No-cook bases are your answer. These recipes mix cold heavy cream with sweetened condensed milk. The condensed milk packs enough fat to create smooth texture without any cooking.
You can pour no-cook bases straight into the churner and have ice cream ready in 15 minutes. Chilling the mixture first will give you better texture. These quick bases make a great foundation for mix-ins and creative flavor combinations.
Each base type has its sweet spot – French style gives you ultimate richness, Philadelphia brings out pure flavors, and no-cook bases save time without sacrificing taste. Knowing these differences helps you pick the perfect starting point for your ice cream making journey.
Mastering the Churning Process
Temperature control will give a perfect ice cream consistency with your Cuisinart ice cream maker. We relied on keeping optimal temperatures throughout the process to make churning work.
Optimal churning temperature
Your ice cream base needs to be really cold at at least 39°F (4°C). Putting the mixture in the freezer for an hour before churning works even better. Just blend it well to break up any ice crystals that might form.
The freezer bowl temperature affects the final texture by a lot. The refrigerant should stay between -23°C to -29°C (-10°F to -20°F). These temperatures create smaller ice crystals that make smoother ice cream. Churning at -26°C (-14.8°F) makes noticeably creamier results than -18°C (-0.4°F).
Signs of perfect consistency
The churning process usually takes 20-30 minutes. Watch for these signs that show it’s ready:
- The motor’s sound changes as the mixture thickens
- The ice cream becomes soft-serve like, around -5°C/23°F
- The dasher (mixing paddle) starts to sound strained
Perfect churning comes down to managing ice crystals well. The dasher scrapes tiny ice crystals off the bowl’s walls that mix with air to create the ice cream’s body. These crystals are smallest right after churning.
Move the ice cream quickly to your pre-chilled storage container once it reaches soft-serve consistency. Quick transfer keeps ice crystals from growing faster in warm temperatures. Take out the dasher first to make transfer easier.
The ice cream needs several hours in the freezer to reach its final texture. Static hardening lets the ice cream firm up properly. The draw temperature should be between -10°C and -12.8°C (14°F and 9°F) to work best.
Note that churning too long won’t hurt your ice cream, but stopping at the right time will give a perfect balance of texture and consistency. Your ice cream becomes creamier when it freezes faster during churning.
Common Problems and Solutions

Making ice cream at home can be tricky, even for seasoned makers. Let’s look at some common problems you might face with your Cuisinart ice cream maker and learn how to fix them. This will help you create perfect frozen treats every time.
Ice cream too soft
Your ice cream’s softness usually comes down to temperature issues. The freezer bowl must remain at 0°F (-18°C) or below to work right. You’ll get the best results by keeping the bowl in the freezer for 24 hours before you start. Your ice cream base should also be as cold as your refrigerator (39°F/4°C) before you begin churning.
The fat content in your ingredients plays a big role too. Ice cream made with low-fat dairy products often turns out too soft and lacks structure. The best texture comes from heavy cream and whole milk. Sugar balance is a vital part – about 1 cup of sugar per quart of liquid gives you the right consistency.

Grainy texture issues
Ice crystals make your ice cream feel grainy. These show up if your mixture freezes slowly or the temperature keeps changing. Here’s how you can avoid those pesky crystals:
- Make sure all ingredients are really cold
- Get your churned ice cream into the freezer fast
- Use airtight containers and cover the surface with parchment paper
The time you spend churning matters too. Too much churning puts extra air in the mix, and this makes it collapse during freezing. You should stop once it looks like soft-serve, which takes about 20-30 minutes.
Machine stops churning
Your Cuisinart might stop churning for a few reasons. The motor can get stuck with thick mixtures or if you fill the bowl too much. Cold ingredients and proper portions help prevent this.
Overheating is also pretty common. Your machine needs good airflow, so give it time to cool down if it stops working. The paddle needs to fit tightly too – loose parts stop the churning process.
If these problems keep happening, take a look at the drive assembly for any wear or blockages. You might need to call Cuisinart’s customer service if the electrical parts need expert attention.
Conclusion
Your Cuisinart ice cream maker can help you make perfect ice cream once you grasp the basics. Our testing shows that success depends on good prep work, the right base choice, and how well you handle the churning process.
A well-frozen bowl is the life-blood of great ice cream. Keep your bowl frozen at -18°C (0°F) or below, and make sure your ingredients are really cold before you start churning.
Different ice cream bases give you different results – and with good reason too. French style creates rich, creamy textures. Philadelphia style lets pure flavors shine through. No-cook bases are perfect when you want quick results. The key is knowing which base will give you the texture and taste you want.
The right temperature during churning separates good ice cream from exceptional results. Look for changes in the motor sound and that perfect soft-serve texture before you move your creation to the freezer.
Our troubleshooting guide can help if things don’t go as planned. Making smooth, creamy ice cream at home is a chance to create something delicious while having fun in the process.
FAQs
Q1. How long does it take to make ice cream in a Cuisinart ice cream maker?
Typically, it takes about 20-30 minutes to churn ice cream to the right consistency in a Cuisinart ice cream maker. The exact time may vary depending on the recipe and ingredients used.
Q2. What’s the key to achieving a creamy texture in homemade ice cream?
The secret to creamy ice cream lies in proper temperature control and quick freezing. Ensure your ice cream base and freezer bowl are thoroughly chilled, and churn the mixture at the optimal temperature (around -26°C/-14.8°F) for the best results.
Q3. Do I need to add salt when using a Cuisinart ice cream maker?
No, you don’t need to add salt to the machine itself. Cuisinart ice cream makers use a pre-frozen bowl, eliminating the need for salt or ice in the churning process. However, a small amount of salt is often included in ice cream recipes to enhance flavor.
Q4. How do I know when my ice cream is ready in the Cuisinart machine?
Look for signs such as a change in the motor sound, the mixture reaching a soft-serve consistency, and the mixing paddle (dasher) starting to sound labored. These indicators usually appear after about 20-30 minutes of churning.
Q5. What should I do if my homemade ice cream turns out too soft?
If your ice cream is too soft, ensure your freezer bowl was frozen for at least 24 hours at 0°F (-18°C) or below. Also, make sure your ice cream base is properly chilled before churning. Using full-fat dairy products and maintaining the right sugar ratio can also help achieve the desired consistency.